Colour Correction Transform
This tool is very good at changing a colour’s brightness, saturation and/or hue in one operation. It is therefore good for a small number of changes within an image, but less useful for changing many colours at once. By contrast, H (hue) changes in the color curves transform shift all or many colours unless strong anchoring techniques are used. The new PWP 4.0 manual explains the transform well.
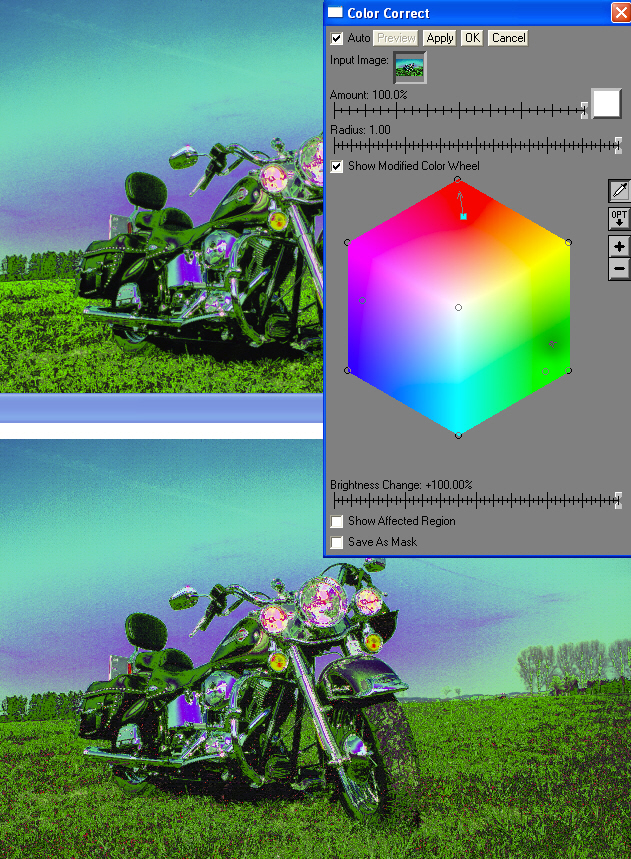
Each point that you add in the transform has it’s own brightness setting saved. If there is a point that you are not happy with, selecting it will bring up the settings, including the brightness setting. Select the show modified colour wheel to see the effect in the wheel. Show affected regions shows how your points affect the image.
You can also use anchors in this transform, here the technique is to add a control point in a colour that you wish to preserve, but close to the adjustment.
In the following image which is the result of the last transform, I have darkened the grass highlights by selecting a point in them and adjusting the bottom brightness slider only (magenta square). To prevent the green highlights in the seat changing I added an anchor by clicking in that colour zone (clear circle in greens).
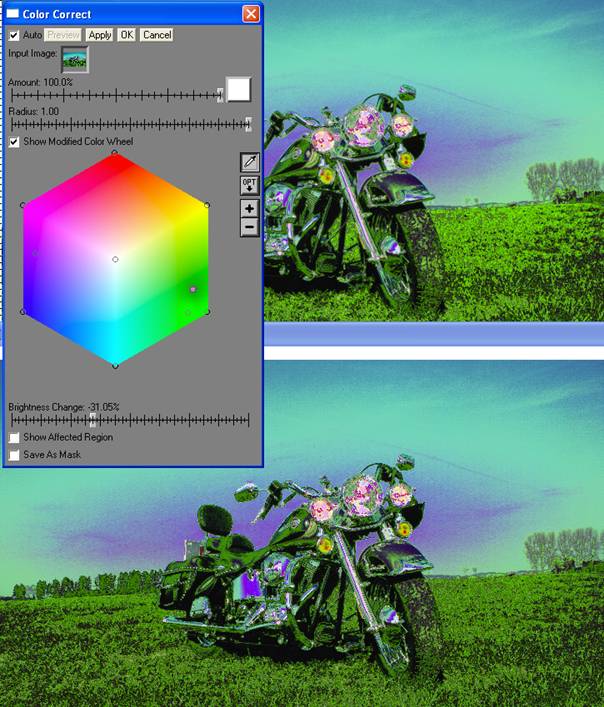
As an example of a point correction to the image I combined the previous change with making the back red reflector brighter (by number/licence plate).
You can see that the darkness change for the grass is still visible in the colour wheel, however the brightness increase in the red reflector is barely visible in the wheel, but clear on the image.